Long delayed updates

It has been quite a while without any updates. Life has changed a lot while I have been away. From starting a new job, in a better career, to moving back to my home state, and closer to the truck project. I have been both a lot more busy, but also making more frequent progress on things as I am closer to the project again.

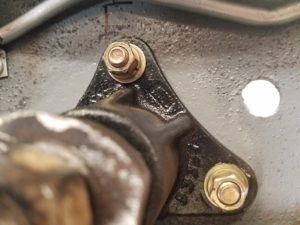
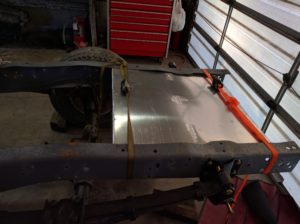
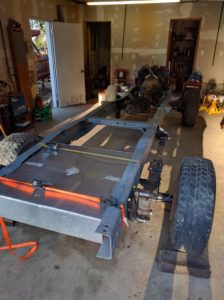
the first update is the fabrication around the power steering box. The frame has been fully boxed in, with adding in the inner frame spacer from a ’78 F-250 frame, with a plate closing off the inner side of the frame’s C channel to fully box in the frame where the steering box mounts to the frame. This has been done to strengthen the frame and provide a solid anchoring point for the push/pull of the steering with anticipated larger tires, moving at slow speed while crawling.

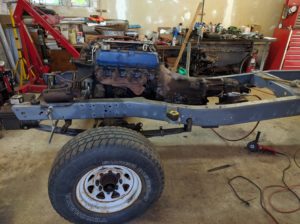
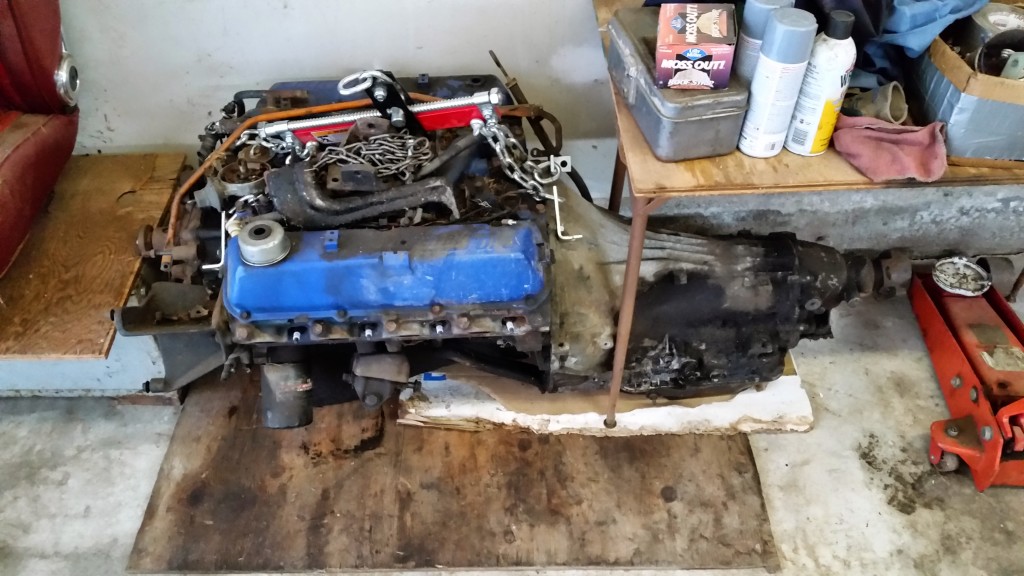
After that, we started working on the drivetrain. We are using a 73 Ford 460 engine with a C6 automatic transmission, mated to a married transfer case. The engine needed to be rebuilt. It had about 350,000 miles on it. This was all of it at it’s starting point, being used to set the engine mounts and crossmembers.
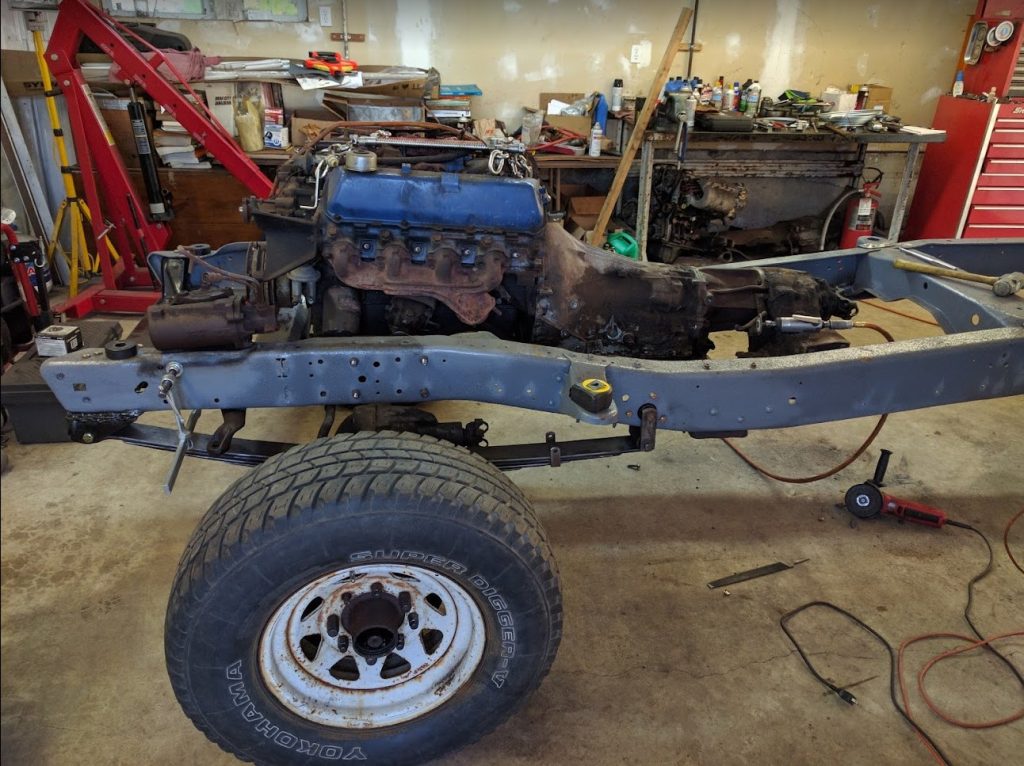
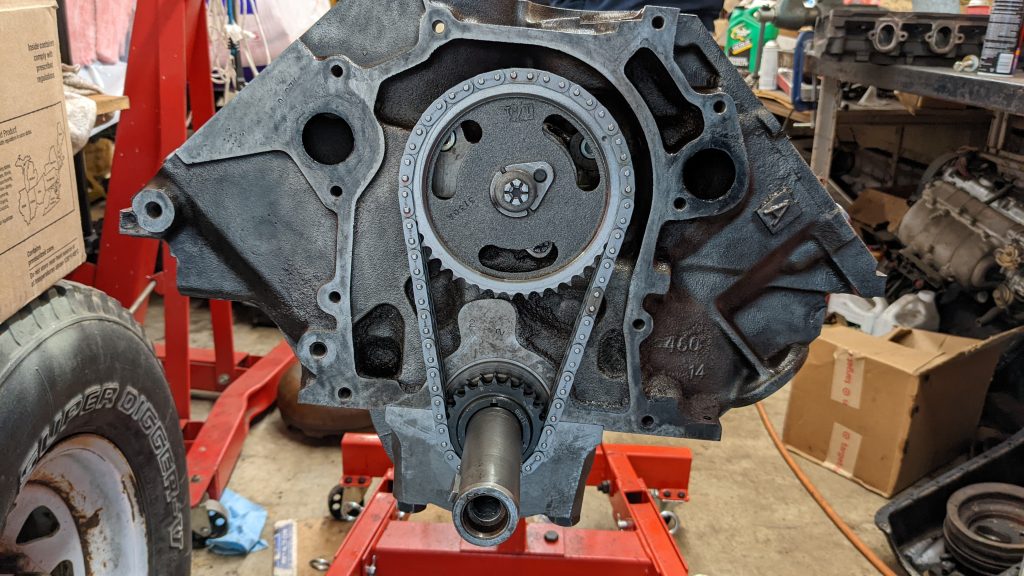
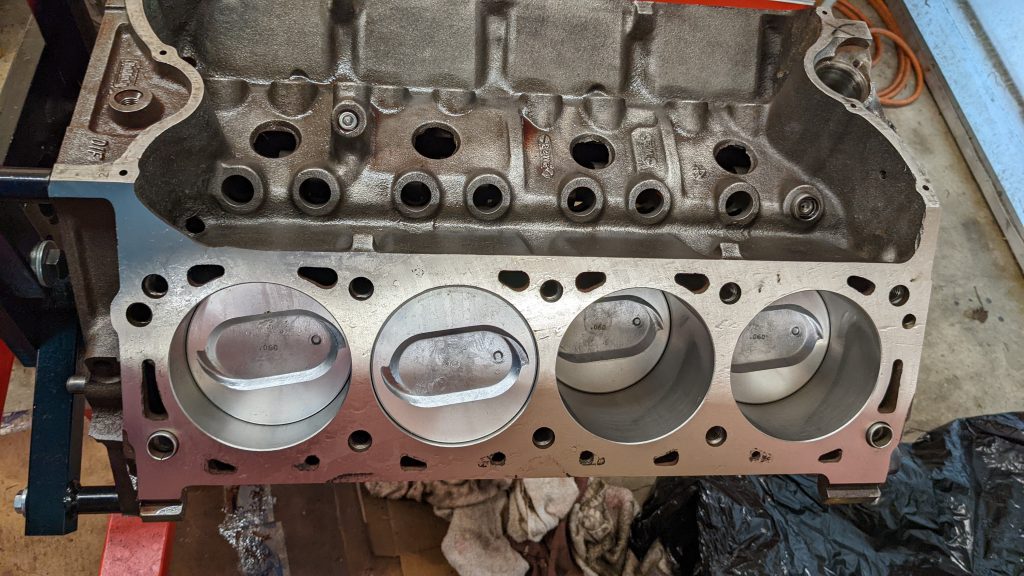
The engine had thrown a main bearing, and during tear down it was discovered that it was going to need machining work. We sent it out to Action Machine Shop in Shoreline Washington. The block was bored to .060 over, and once the machining was complete we built the engine up.
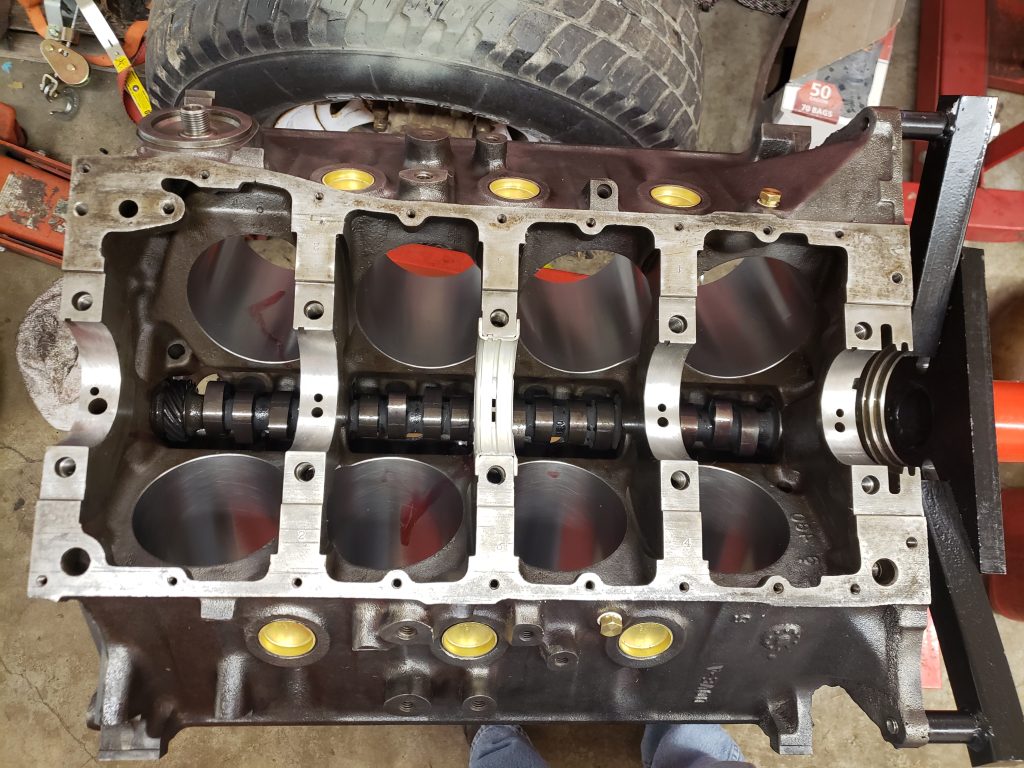
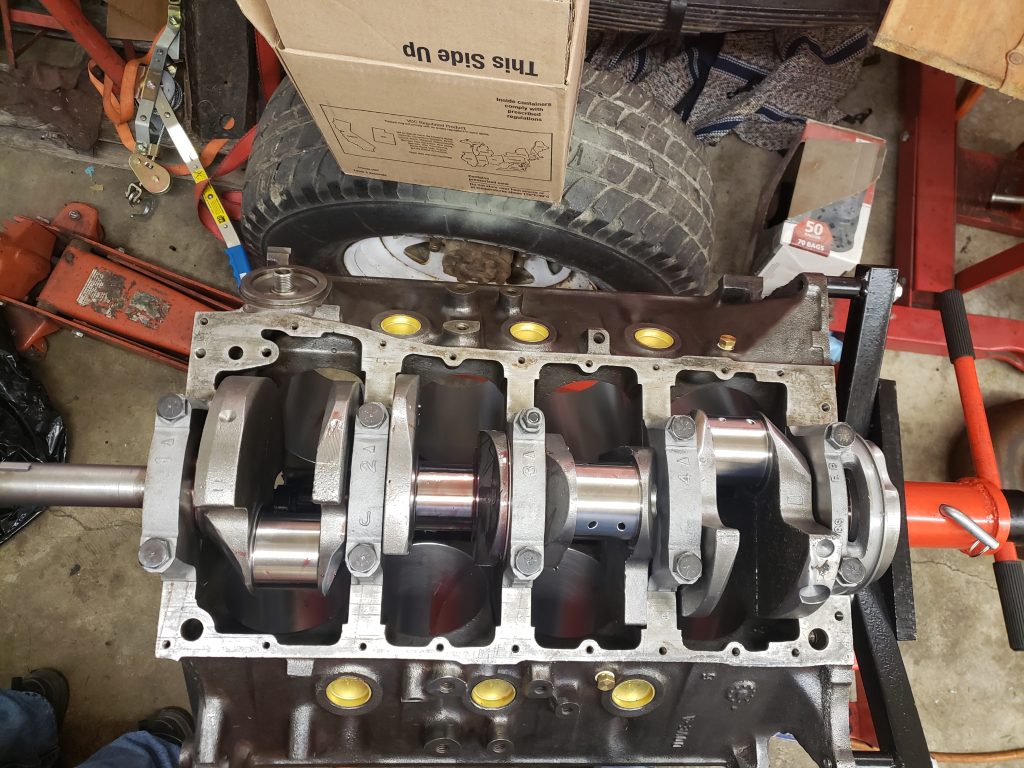
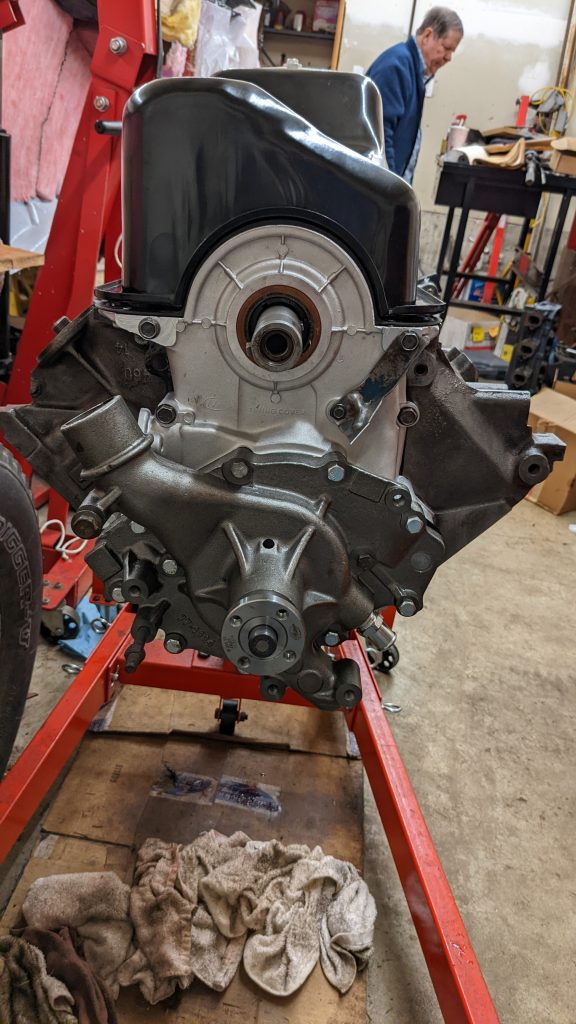
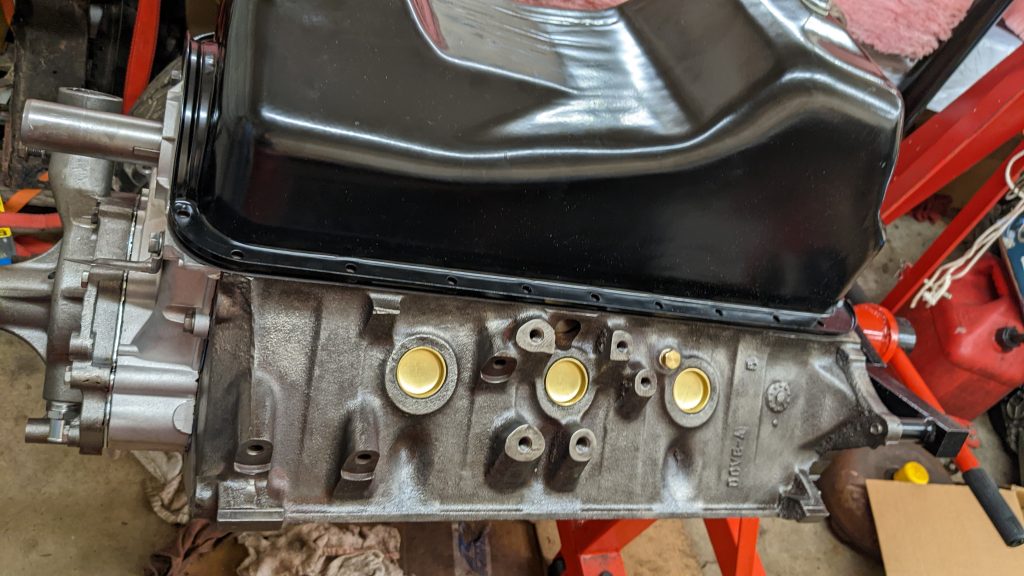
Unfortunately, we didn’t keep up with pictures throughout the engine build. We finished the short block, and rebuilt the heads. On the exhaust ports we ground down the Thermactor exhaust port bumps to improve airflow, and completed the engine assembly.

The transmission has also been rebuilt with new clutch disks and seals and a new torque converter. The transmission has a manual valve body and a shift kit in it, and in all the vehicles I have ever driven with an automatic, this transmission is the only one that i didn’t wish was a stick. If your not familiar with a shift kit, I would really recommend looking into them.

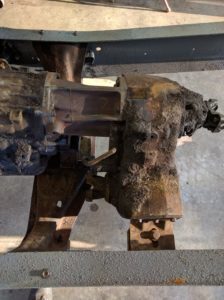
For the transfer case, I decided to go with the married NP-205 running a dual stick configuration. This will allow setting H-L-N on each axle independently, making the truck FWD, RWD, or 4WD on demand, as well as selecting Hi or Low range without engaging both axles. The transfer case has been modified with the shift rail kit, as well as cleaned, inspected, and all seals replaced.
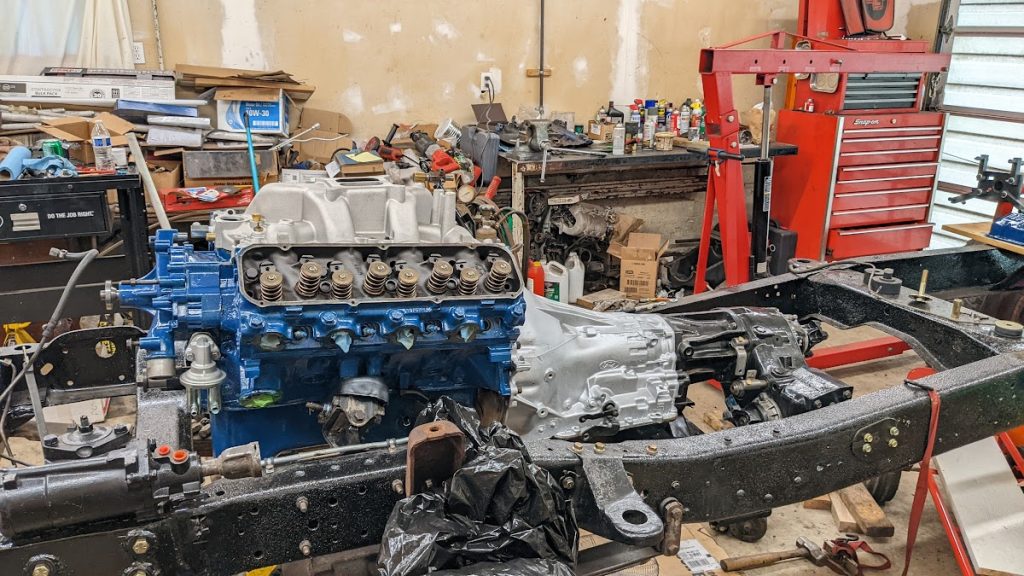
This was shortly before the heads were finished. I will need to add more images soon. We have almost finished the accessory devices, and are also moving onto rebuilding the front axle currently. More updates to follow.
Stop! No, seriously, brakes let you stop!

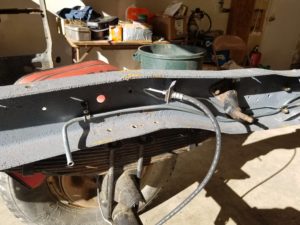
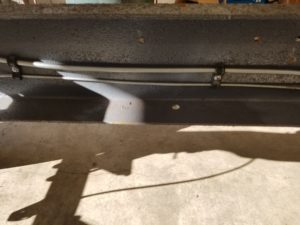
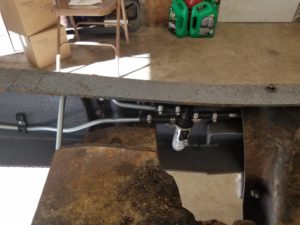
So even after I returned home, my dad in his typical fashion kept working away at the truck. It now has the fuel solenoid, the outlets to each tank, and a line up to the engine. The rear brake lines are ran to each of the rear wheels, upto the frame and up to about the rear cab cross member. Soon we will be able to get the auxiliary fuel tank fabricated.

20160912_164333 20160912_164337 20160912_16432220160912_164313 20160912_16412120160912_16424120160912_164247 20160912_164254 20160912_164303

August Update

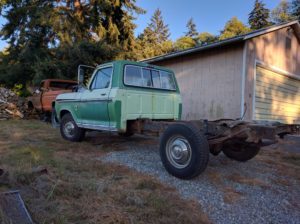
IMG_20160821_190821This August I was able to finally go up and visit my folks and spend some time working on the truck project again. The first order of business was removing the bed from the green truck to allow us to better see how fuel and brake lines were being routed, and setup for dual tanks.


IMG_20160827_183431We recently purchased the tail housing and output shaft for a C6 transmission that allows bolting the married transfer case directly to the transmission. It was bought sight unseen, and we were glad that the shaft is correct, and splines into the input of the transfer case.

We were able to pull out the transfer case from the orange truck as well as remove two of the cross members from it to mount things correctly in the new build. pulling out the cross members was much more time consuming than expected. Drilling out rivets is not as simple as you may imagine. They will need to be cleaned, and painted and re mounted, but for now we are going for test fittings. making sure everything lines up correctly, and mounts in the new frame right. As the truck originally had a smaller engine, a manual transmission and divorced transfer case, some drilling was required.


IMG_20160826_190414With the engine, transmission, adapter and transfer case in, you can see it goes from just behind the radiator, to back just short of the rear cab mounts, and is all connected as one piece. eventually things will need to come back out to be rebuilt but this allows us to measure for fuel tanks, run brake lines, setup steering and a ton of other things.


IMG_20160826_190449We had a custom built gas tank created, that will fit between the frame rails at the end of the bed. It will hold 20 gallons once done. We still need to add in the fill neck, and fuel line outputs and float. We will also be building a side tank that will hold between 20 – 22 gallons once done, and upgrading from the manual fuel tank switch to an electric solenoid switch.


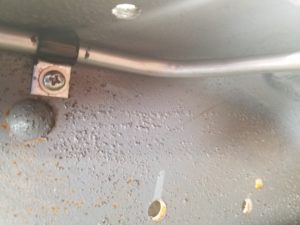
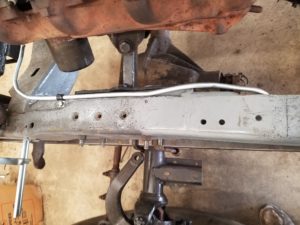
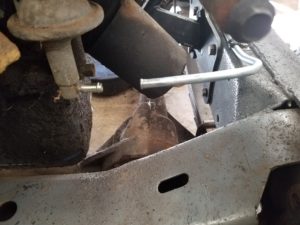
IMG_20160827_183223While hard to see in this picture (try clicking it so its bigger) you can see the beginnings of new brake lines on the axle, and new brake and fuel lines in the left side frame rail. Its getting all new brake and fuel lines (as well as new or rebuilt more or less everything)


I guess we do need axles.

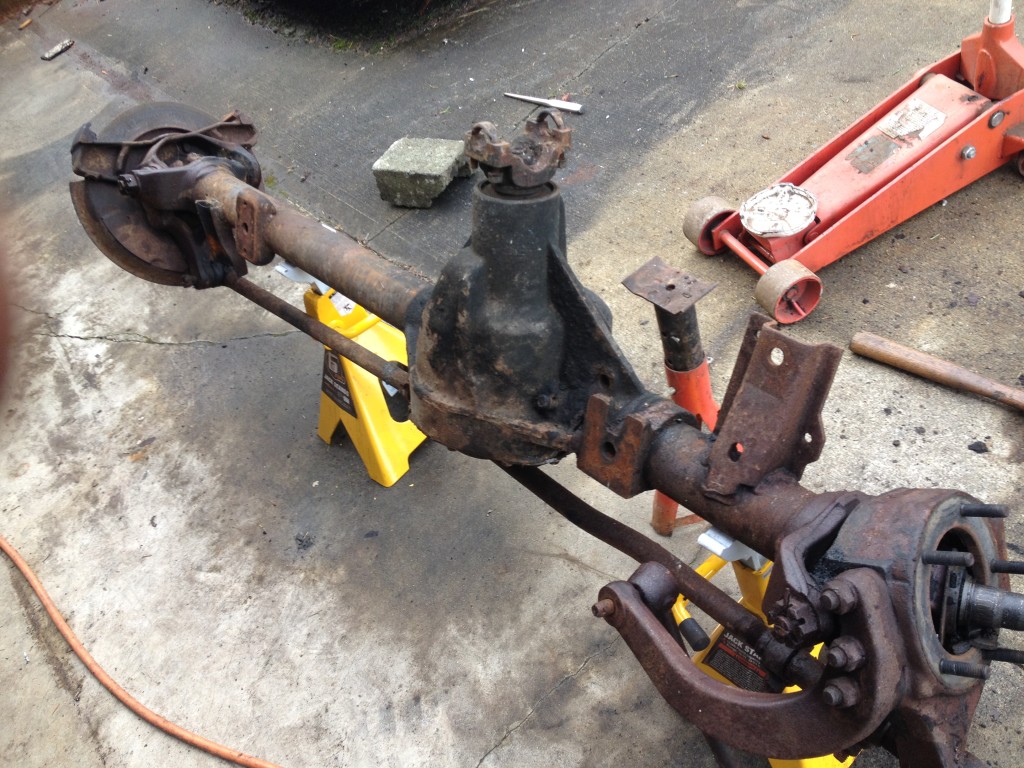
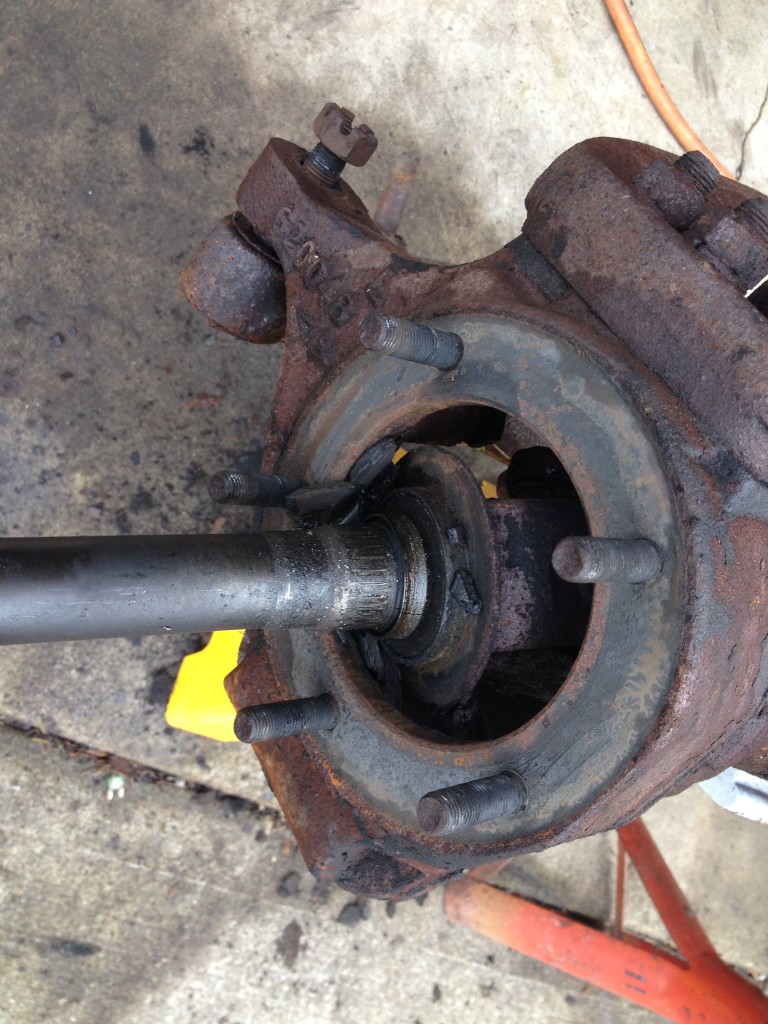
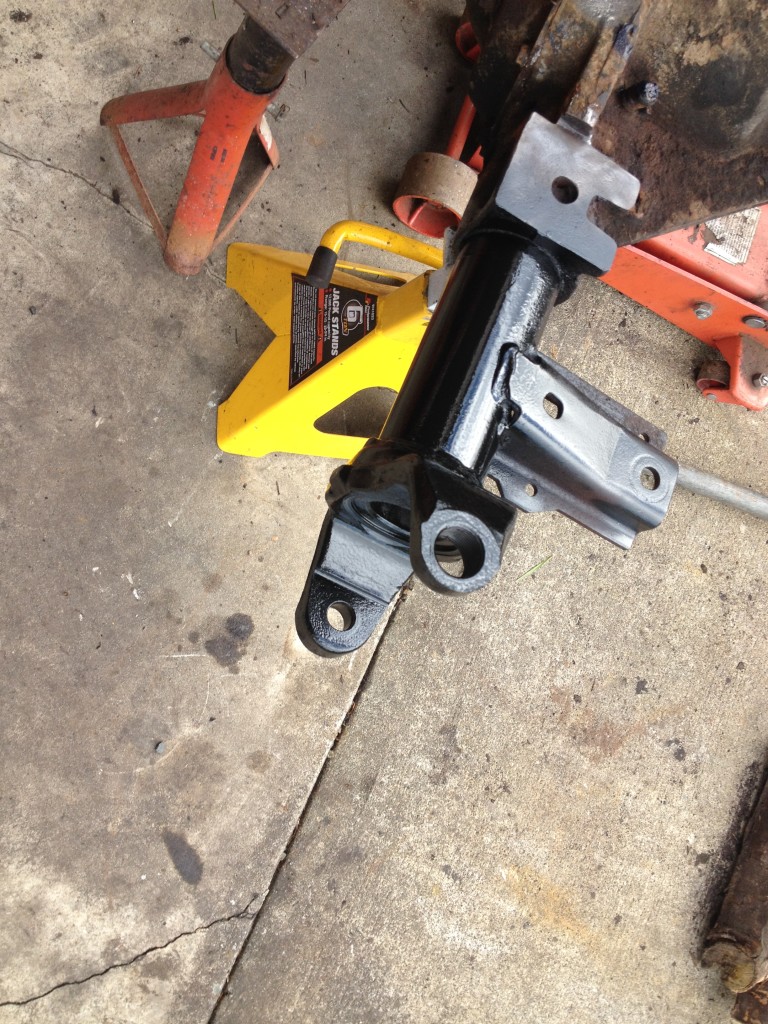
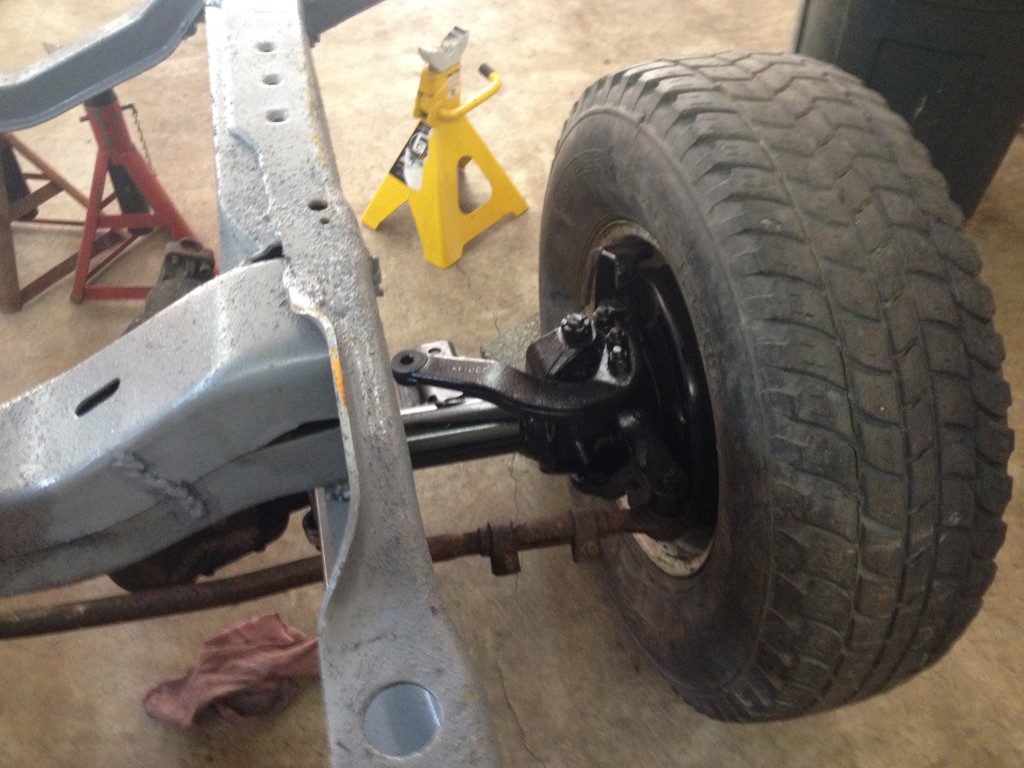
So in the tear down we posted about how we don’t need no stinking axles! Well in retrospect it should have said we don’t need them now. Time has come however to start cleaning them up and getting them back under the frame so we can sort out the new power steering linkage setup.

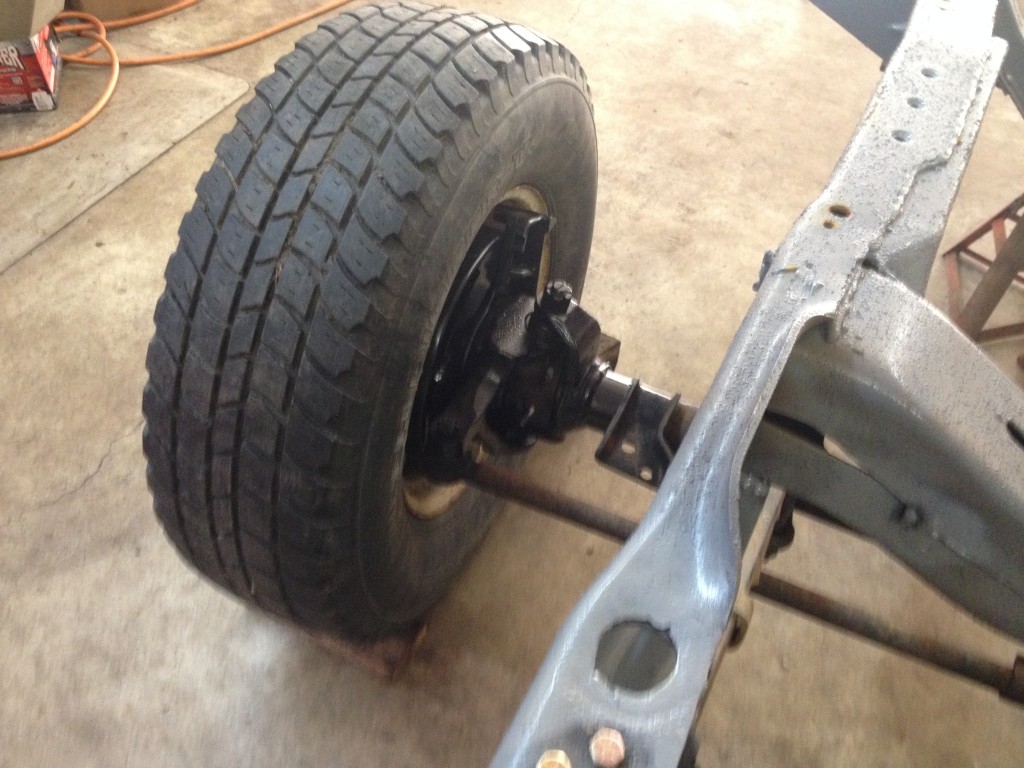
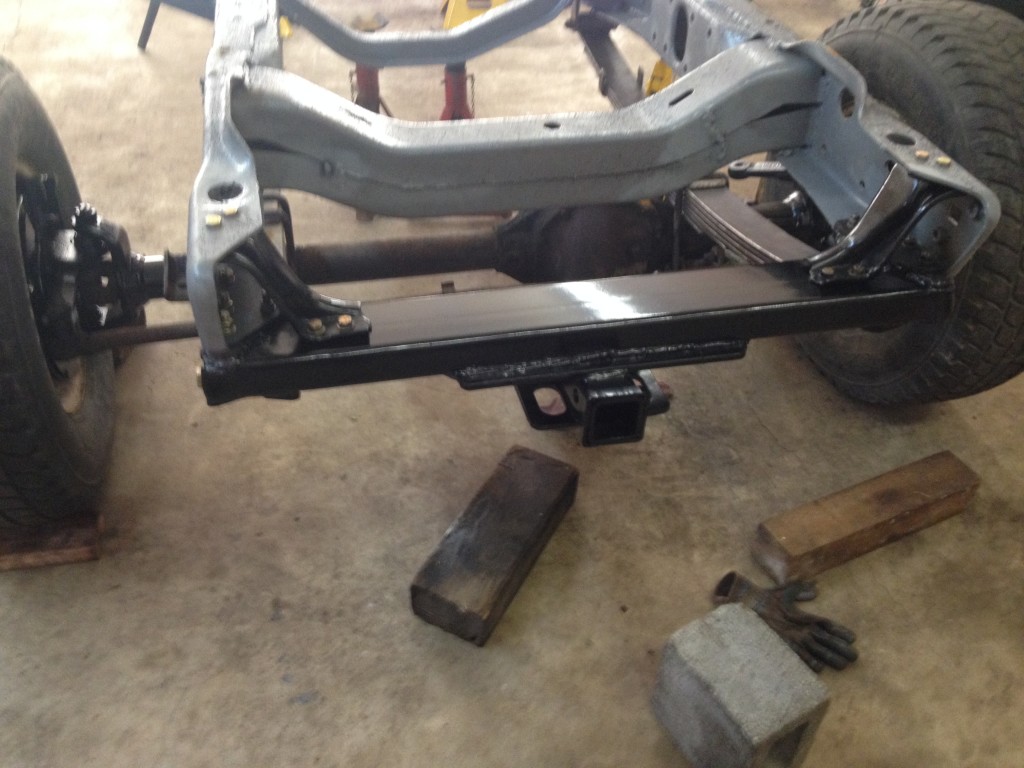
Dad was able to clean up the worst of the end pipes and replace the ball joints to get the wheels stabilized. We will finish the axle clean up/painting when we rebuild the axles, and add the air locker systems.  But at long last the frame cracks are fixed, the frame is straight, a new front cross member has been meticulously hand crafted, the frame has been flipped up side up, springs added, and the front axle re mounted! WOO HOO!

front axle and crossmember pics 003 front axle and crossmember pics 001 front axle and crossmember pics 004 front axle and crossmember pics 006 front axle and crossmember pics 007 front axle and crossmember pics 005

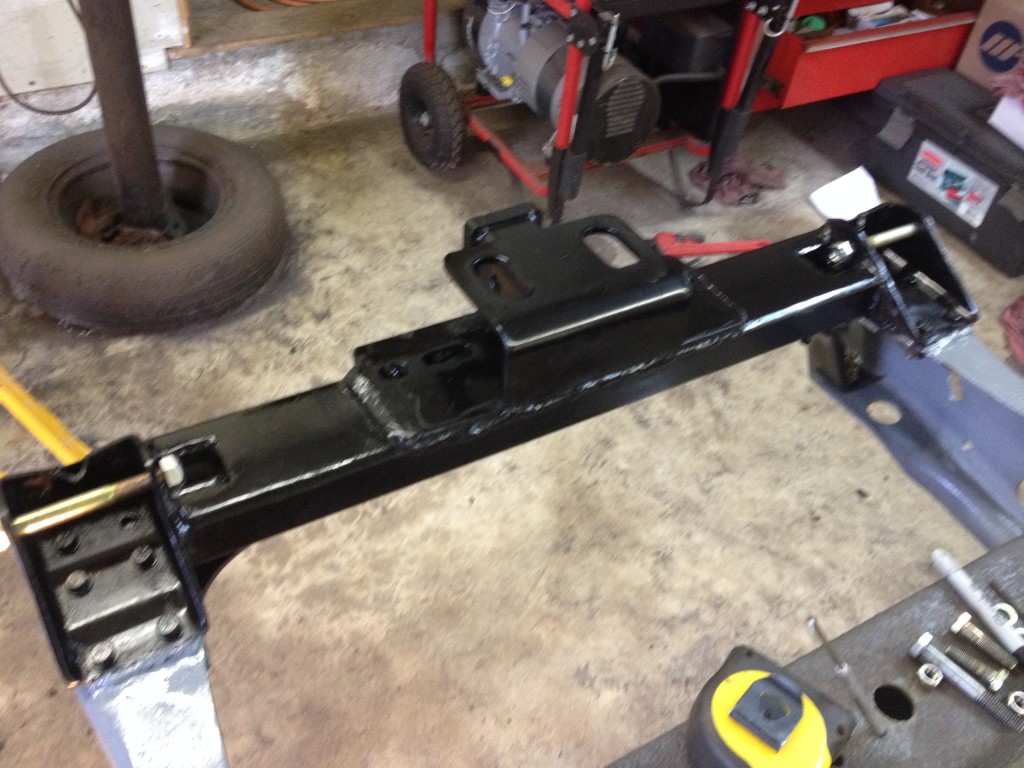
The finished front crossmember

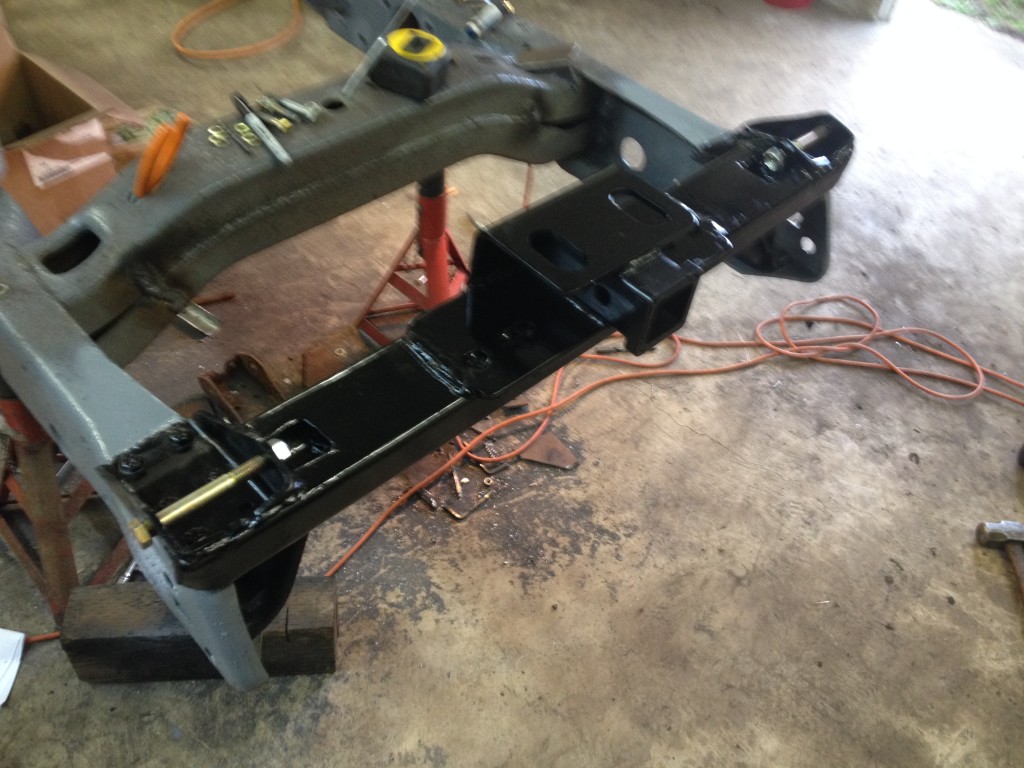
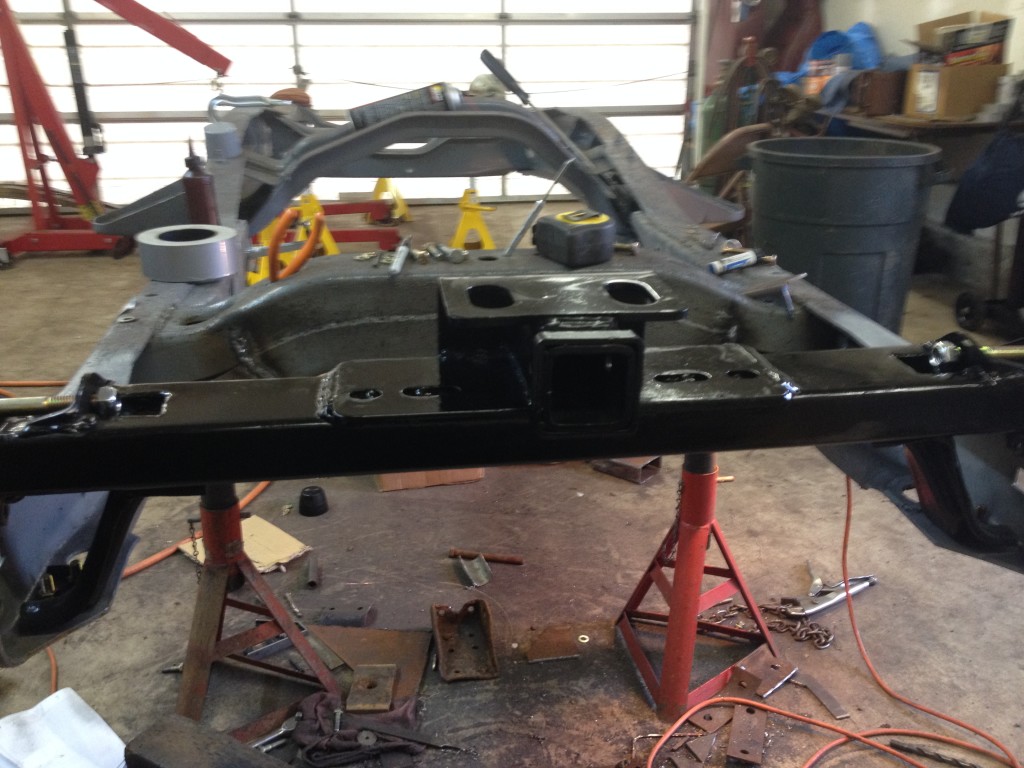
Dad put alot of hours into this cross member alone. Its built using 1/4inch rectangular tubing, that was then notched out for the spring perches, and then also notched out for the spring eye bolt hardware by taking a bit of metal tube, cut to length, then cross cut in half to provide the U shaped void. We ordered a bolt on class III hitch for it that has been center mounted and will provide an attachment point for a winch, tow ball, or recovery loop. It is far stronger than the original and looks wonderful.

new front crossmember 001 new front crossmember 002 new front crossmember 003

Finishing up the front crossmember

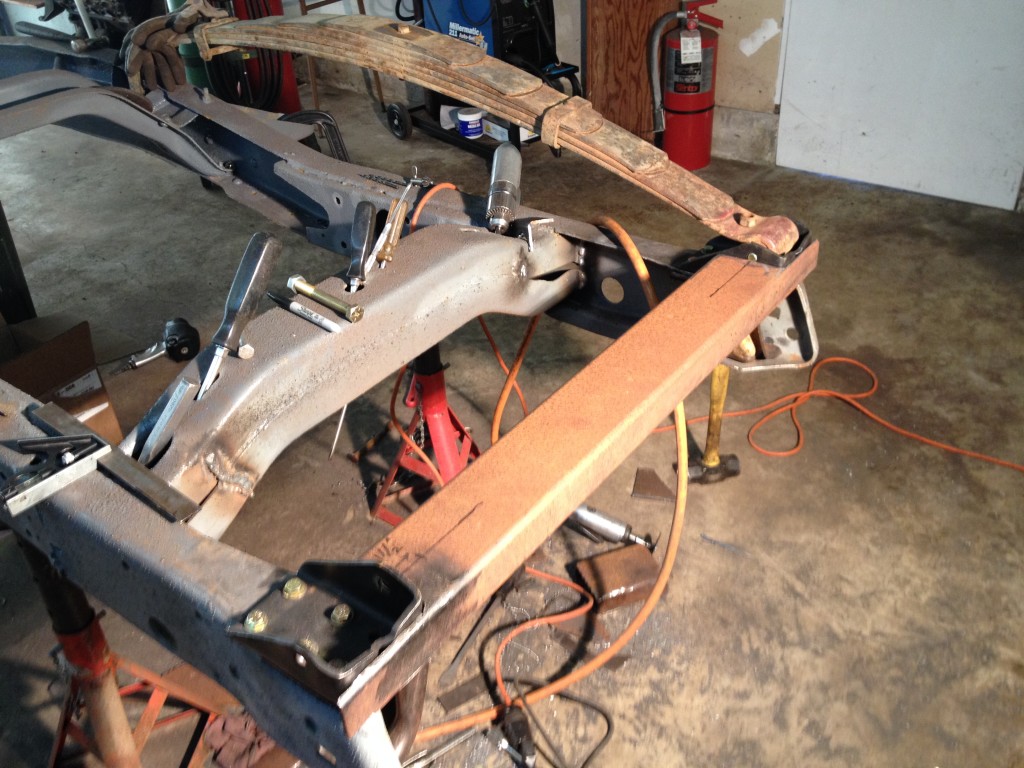
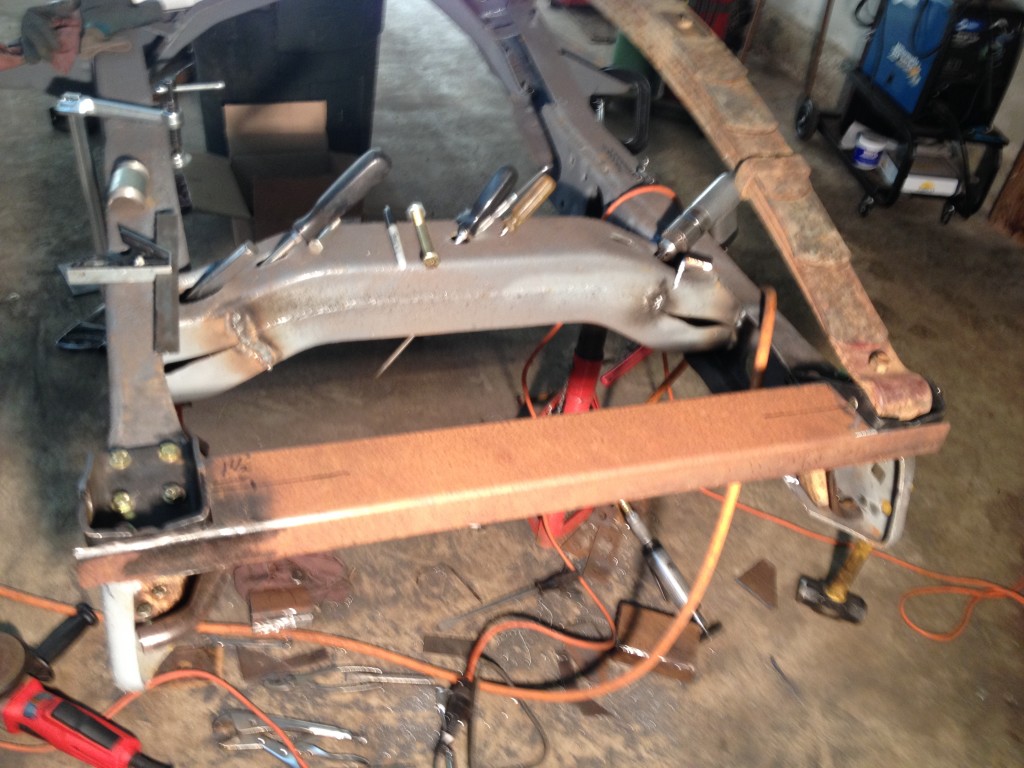
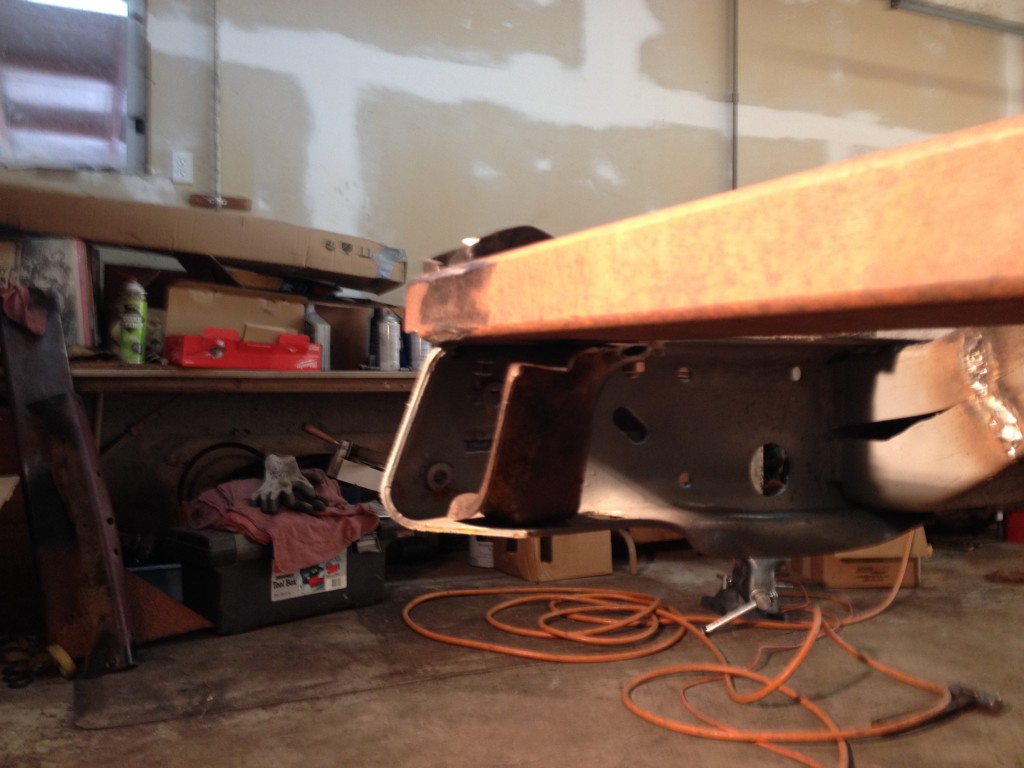
We decided to use 2×4 rectangular tubing vs the 2×6 to make sure it will clear the four core radiator and the front radiator support panel. It completely replaces the stock cross member that was less than 1/4 inch thick metal, that was also twisted and destroyed. This will be far stronger.

Kevin's frame crossmember 002

This will be just below the front bumper when the truck is done, and we will weld in a class three receiver hitch into it for mounting tow balls, hooks, or a winch to the front of the truck. I’m really happy with how this turned out. It looks nice, and is much stronger than stock, and will provide an excellent mount point for attaching to the truck properly.

Kevin's frame crossmember 001Kevin's frame crossmember 003

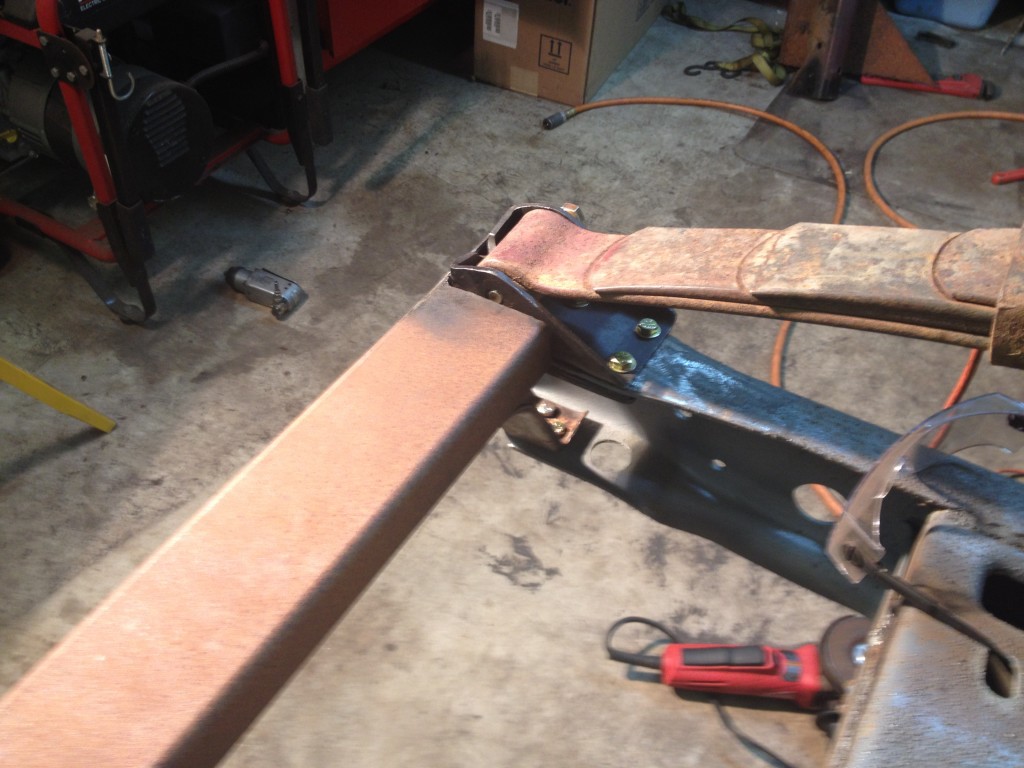
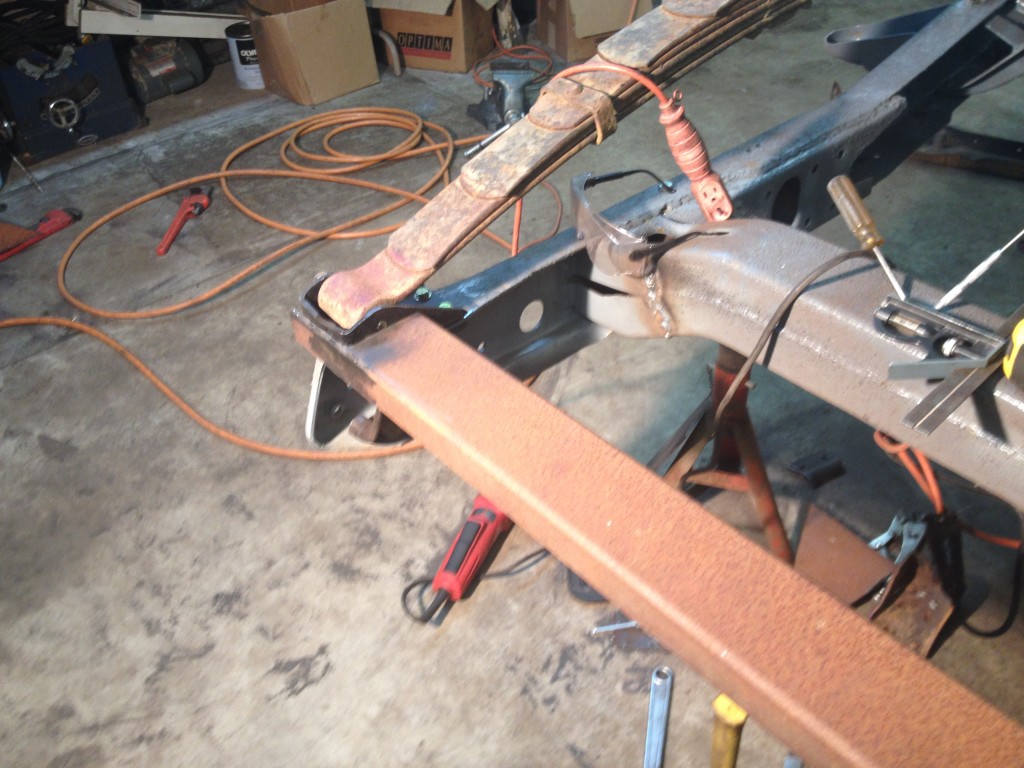
Above you see the stock angle brace that has been shortened some to allow for the thicker tubing. In the background on the frame you can see some of the welding for fixing the frame crack. Soon we should be able to get the other spring installed (currently waiting on the correct bushings) then get the frame flipped over and mount the axles.

Rebuilding the first crossmember

So on the truck, the first cross member that ties the frame rail ends together under the radiator support was so badly bent out of shape it was not even worth repairing. It had been used to connect cables, chains, and hooks to latch onto the truck to yank it out of being stuck someplace. It resulted in bent frame rails, and cracks that had to be fixed. We are replacing the original cross member which was only about 1/8th inch steel bent in an l shape with a piece of 2×4 steel tube that is about 3/8ths thick per wall. Once done, you would be able to lift the entire truck by it. Eventually a class III Receiver hitch will get welded to the center that will allow mounting of tow hooks, ball mounts, and a winch on a receiver hitch mount that will come out below the bumper.

Here, dad has the new cross member about half finished.

IMG_0288 IMG_0287


Pulling the 78 front axle

Pulling the front axle out of a truck is a whole lot easier with dad’s oxy acetylene torch. Put a jack under the axle, torch off the old u bolts, and the shocks, and it simply slides right out.

Orange cab pics 00420150102_15174520150102_151756

The old heart of the truck.

Ever wonder what a 7.5 Liter Ford Big Block 460 looks like after about 400,000 miles? Its going to look much nicer once it resets its mileage to zero. Once done it will about idle crawling over obstacles.

20141229_123408

My trucks theme song.

While working on the springs, and having a haze of rust dust swirling in the shop, I couldnt not think of this song. I think it so apropriate for this project. Its all about sheding the rust, waking up, being better and stronger than before. I think this is gonna be the official song for this truck.

The video is a bit… weird. but listen to the lyrics.

Lyrics

Whoa, oh, oh
Whoa, oh, oh
Whoa, oh, oh
Whoa

I’m waking up to ash and dust
I wipe my brow and I sweat my rust
I’m breathing in the chemicals

I’m breaking in, shaping up, then checking out on the prison bus
This is it, the apocalypse
Whoa

I’m waking up, I feel it in my bones
Enough to make my systems blow
Welcome to the new age, to the new age
Whoa, oh, oh, oh, oh, whoa, oh, oh, oh, I’m radioactive, radioactive

I raise my flags, don my clothes
It’s a revolution, I suppose
We’ll paint it red to fit right in
Whoa

I’m breaking in, shaping up, then checking out on the prison bus
This is it, the apocalypse
Whoa

I’m waking up, I feel it in my bones
Enough to make my systems blow
Welcome to the new age, to the new age
Whoa, oh, oh, oh, oh, whoa, oh, oh, oh, I’m radioactive, radioactive

All systems go, the sun hasn’t died
Deep in my bones, straight from inside

I’m waking up, I feel it in my bones
Enough to make my systems blow
Welcome to the new age, to the new age
Whoa, oh, oh, oh, oh, whoa, oh, oh, oh, I’m radioactive, radioactive